REVIEW · TENERIFE
Teide National Park: Stargazing Experience
Book on GetYourGuide →Operated by Discover Experience · Bookable on GetYourGuide
A sky full of stars can still surprise you. In Teide National Park, you get step-by-step constellations and real telescope viewing, all guided by professionals. The main catch is the weather: it gets cold fast after sunset, so you really need warm layers (and plan around the moon for best results).
I like that the experience starts with your own eyes, not just gear. You’ll learn where Polaris sits (celestial north pole), how to follow the ecliptic and zodiac line, and how Greek mythology helps you remember what you’re seeing. One potential drawback: if the moon is bright, some faint targets may feel less dramatic.
You meet at the parking area in front of the natural environment of Minas de San José. From the south, it’s the second car park on the right; from the north, it’s the first car park on the left. Tours run in Spanish and English, and guides such as Miguel and Manuel are repeatedly praised for clear, funny explanations that keep you oriented even when you feel slightly frozen.
In This Review
- Quick Highlights at Teide’s Star Spot
- Why Teide National Park Makes Stargazing Feel Real
- The 80 Minutes: How the Tour Unfolds Under the Stars
- Step 1: Your Eyes First, Then the Telescope
- Step 2: Planet and Object Viewing Through High-Grade Optics
- Polaris, Ecliptic, and Zodiac: The Practical Skill You Actually Keep
- Polaris and the celestial north pole
- Ecliptic and zodiac line
- Telescope Time Plus Astrophoto Images: What You Get Back
- What Makes the Guides Work: Clear Pointing, Not Just Cool Gear
- Meeting Point at Minas de San José: Arrive Ready
- Cold, Wind, and Warm Clothing: The Real Comfort Checklist
- Price and Value: Is $41 for 80 Minutes Worth It?
- Who This Stargazing Tour Suits Best
- Should You Book This Teide Stargazing Experience?
- FAQ
- How long is the stargazing tour in Teide National Park?
- Where is the meeting point?
- What languages are available for the live guide?
- Is hotel pickup and drop-off included?
- What should I bring for the night tour?
- Does the moon affect what we can see?
- Who might not be able to join this tour?
Quick Highlights at Teide’s Star Spot
- Naked-eye orientation first: Polaris, the celestial north pole, constellations, and basic “reading the sky”
- Ecliptic and zodiac guidance: you’ll learn the lines that connect planets’ paths to your star map
- Greek mythology as a memory tool: stories that make star shapes easier to locate
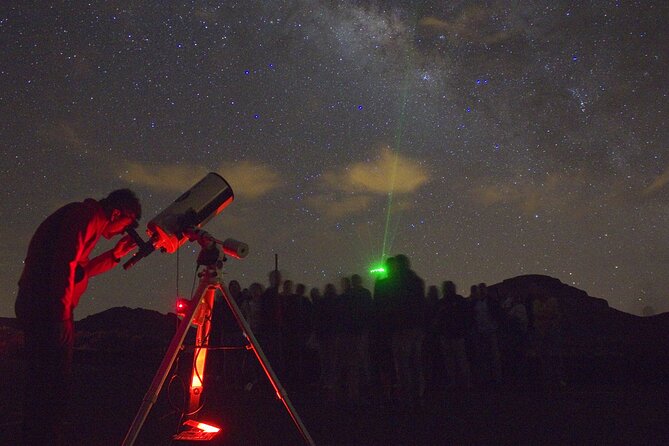
- High-grade telescopes: watch major objects and planets through serious optics
- Astrophoto telescope photos: you may receive images from what you observed after the tour
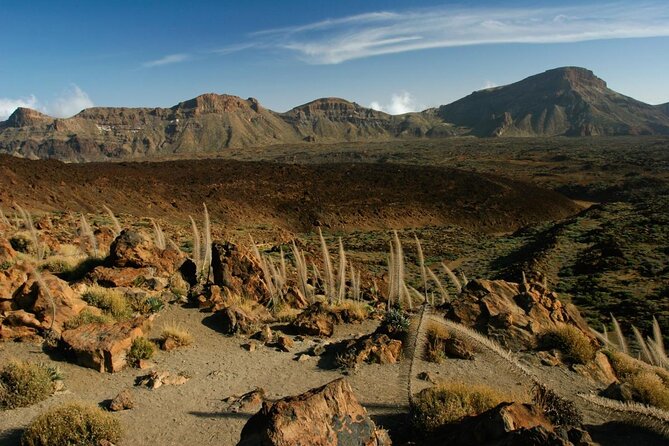
- Teide’s low-light setting: fewer town lights means more stars per minute
Why Teide National Park Makes Stargazing Feel Real
Teide National Park is built for night sky lovers. The whole point is simple: dark skies. With less light pollution around, the heavens don’t look like a dim ceiling. They look deep. Expect far more stars than you’re used to at home, plus a Milky Way view that tends to feel obvious the moment your eyes adjust.
There’s also the practical side. You’re going to be outside for a while, and at Teide it can be cold even when daytime on Tenerife feels warm. That chill isn’t a reason to skip it. It’s a reason to dress like you mean it.
You can also read our reviews of more tours and experiences in Tenerife.


The 80 Minutes: How the Tour Unfolds Under the Stars
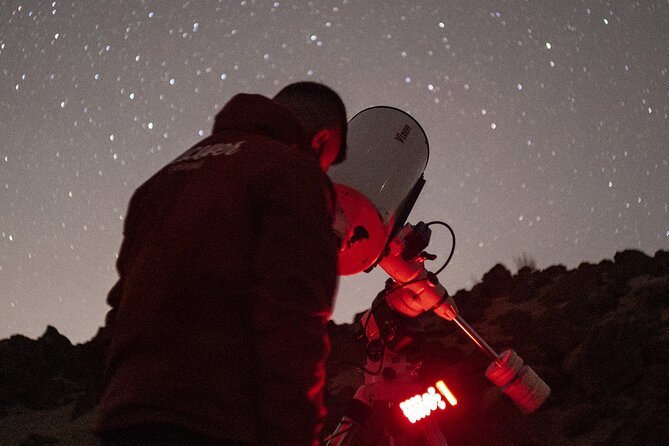
This tour runs about 80 minutes, beginning after sunset. That timing matters. Early enough and you can still catch familiar stars and bright planets. Late enough and the sky becomes more “honest,” with more contrast between the stars and the darker background.
Step 1: Your Eyes First, Then the Telescope
You start with naked-eye viewing. The guide helps you locate major features and teaches you how to navigate, so you’re not just aiming randomly at darkness.
What you can expect in this first phase:
- Polaris spotting: you’ll learn where the celestial north pole is, using Polaris as the anchor
- Constellations and key stars: not a textbook lecture, but practical “find this, then look near it” pointing
- The ecliptic and zodiac line: these are the sky paths tied to the Sun’s and planets’ motion, so planets make more sense later
- Greek mythology connections: the guide uses old stories to help you recognize patterns and remember positions
This early orientation is the value most people remember. Telescope time is great, but it’s fleeting. When you can orient yourself, you take the sky home in your head.
Step 2: Planet and Object Viewing Through High-Grade Optics
Once you’re oriented, the focus shifts to observing outstanding celestial objects and planets through telescopes. The exact “menu” depends on the night’s conditions, but the most-loved targets include:
- Orion’s nebula (a classic winter highlight)
- Andromeda galaxy
- Mars
- Jupiter, often with its moons
- Saturn, commonly with the moons visible alongside the planet’s distinctive look
Even if you’ve seen photos online, telescope viewing feels different because you’re watching real light come from far away. You also get a guide who can explain what you’re looking at in human terms, not just technical labels.
Polaris, Ecliptic, and Zodiac: The Practical Skill You Actually Keep
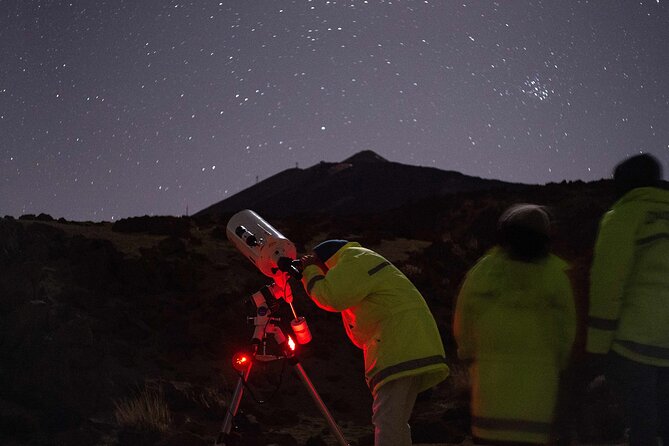
Here’s the trick: most people don’t leave stargazing with much more than a few blurry memories. This tour tries to fix that by teaching navigation tools.

Polaris and the celestial north pole
When you can spot Polaris, you can understand your orientation in the sky. That means you can find constellations more confidently without relying on the app every five seconds. You also get a feel for how the night sky is arranged relative to north.
Ecliptic and zodiac line
The ecliptic is where the Sun appears to travel through the sky over the year. The zodiac line is the familiar band of constellations along that path. Once you understand those lines, planets stop being random points. You start expecting them in the right regions.
If your goal is to be able to look up on your own later, this part is what makes the whole evening more than a one-off spectacle.
Telescope Time Plus Astrophoto Images: What You Get Back
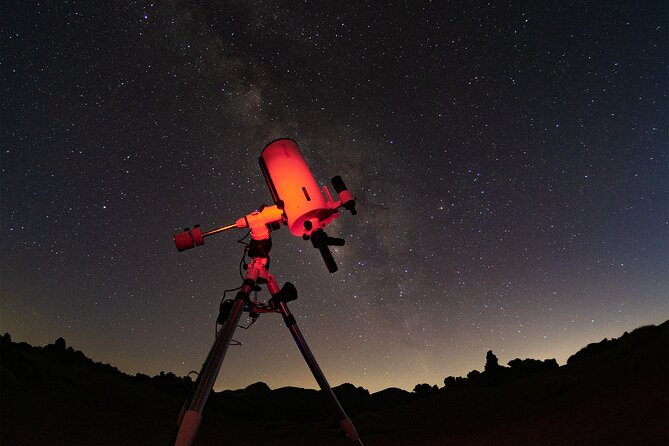
The tour uses high-grade telescopes for viewing. And there’s an extra layer: an astrophoto telescope designed to turn what you see into images.
In practice, that means you aren’t only watching. You’re also collecting proof. Some guests have received pictures from one star cluster and one galaxy observed during the session, sent after the tour. The specific targets can vary by the night, but the general idea is consistent: you leave with photos, not just cold cheeks.
What Makes the Guides Work: Clear Pointing, Not Just Cool Gear
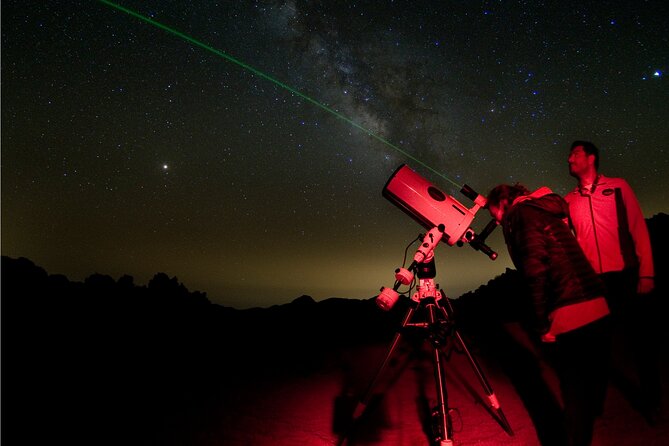
The best part of this kind of tour is the human translation. Good stargazing guides don’t just run a telescope. They help you get your bearings fast—then they connect what you’re seeing to something you can remember.
Guides such as Miguel and Manuel are repeatedly praised for being clear and passionate, even when the setting is freezing. You’ll also often hear a mix of science and “why this looks like that,” including mythology to anchor constellations in your memory.
You’ll also get orientation through pointing and explanation at both levels:
- naked-eye patterns you can repeat without equipment
- telescope views you can’t otherwise access from a balcony or roadside turnout
Meeting Point at Minas de San José: Arrive Ready
You meet at the parking area just in front of the natural environment of Minas de San José. From the south, take the second car park on the right. From the north, use the first car park on the left.
This is one of those details that matters more than you think. Arrive early enough to park, walk a bit, and settle before sunset. Once it gets dark, finding your group is harder even when the staff are organized.
After booking, the provider may confirm the exact schedule with you through WhatsApp or email, especially if you booked months ahead.
Cold, Wind, and Warm Clothing: The Real Comfort Checklist
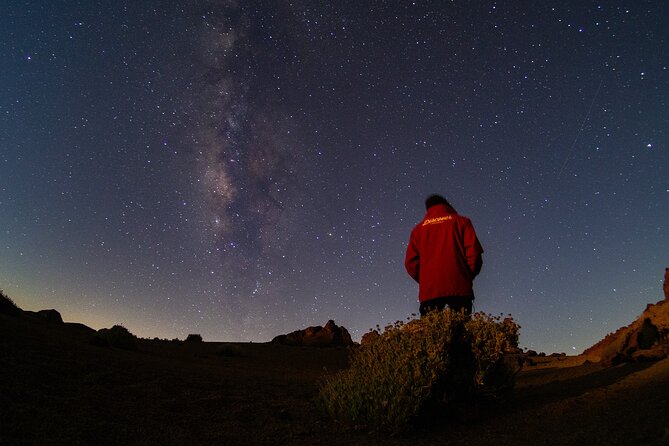
Temperatures are low during the night. That’s not a “bring a light jacket” situation. Expect real cold—often after about a couple of hours outside—plus possible wind depending on conditions.
Bring:
- comfortable shoes
- warm clothing
- warm shoes
If you’re tempted to show up with only a thin layer, don’t. You’ll spend less time looking at the sky and more time thinking about your fingers.
I also suggest you treat this as part of your planning, not a last-minute fix:
- layer up so you can adjust as your body warms
- avoid flimsy footwear if the ground is uneven
Price and Value: Is $41 for 80 Minutes Worth It?
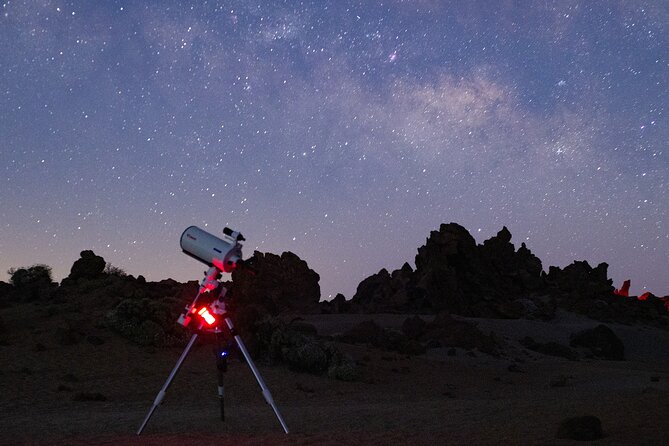
At $41 per person for about 80 minutes, you’re paying for three things: expert guidance, telescope access, and dark-sky viewing at Teide.
If you only got telescope time, it might feel like a short burst. The value here is the combination:
1) you learn how to find things with your eyes, which extends the usefulness beyond the night
2) you still get real telescope views of planets and deep-sky objects
3) you potentially receive astrophoto images after the tour
So the price feels most fair if you want both science and practical sky skills. If you’re already confident spotting constellations and only want telescope viewing, you might wonder if another option could stretch your time. But for first-timers or anyone who wants a guided “how to look up” session, this format is a strong deal.
Who This Stargazing Tour Suits Best
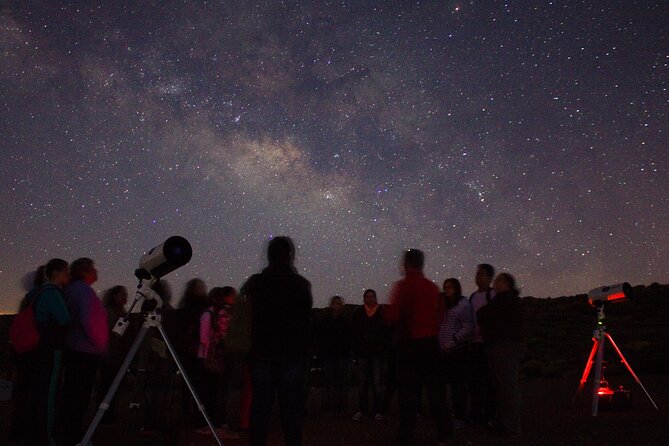
This works especially well if you want:
- a guided way to learn constellations and basic sky navigation
- telescope views of major planets like Jupiter and Saturn
- a mix of astronomy explanations plus mythology-style memory tricks
- a low-light setting in Teide National Park
It may not fit if:
- you have heart problems or respiratory issues
- you’re in the “recent diving” window (the tour lists not suitable if you dived up to 24 hours prior)
- you’re bringing a pet (pets aren’t allowed)
- you need an unaccompanied minor option (unaccompanied minors aren’t allowed)
Should You Book This Teide Stargazing Experience?
If you like learning while you look up, I think you should book it. The best reason is simple: you don’t just wait for wow moments. You learn how to find things—Polaris, the ecliptic path, zodiac constellations—then you confirm what you found with telescope viewing.
Book it with two realistic expectations:
- dress for cold, because the sky is worth it but your comfort matters
- keep an eye on moon conditions. The moon’s cycle is noted for a reason, and a brighter moon can reduce contrast for fainter objects
If you want an 80-minute night that gives you both knowledge and real views, this tour hits that balance well.
FAQ
How long is the stargazing tour in Teide National Park?
The duration is about 80 minutes, starting after sunset.
Where is the meeting point?
Meet in the parking area just in front of the natural environment of Minas de San José. From the south it’s the second car park on the right; from the north it’s the first car park on the left.
What languages are available for the live guide?
The live tour guide is available in Spanish and English.
Is hotel pickup and drop-off included?
No. Hotel pickup and drop-off are not included.
What should I bring for the night tour?
Bring comfortable shoes, warm clothing, and warm shoes. The tour runs in low temperatures.
Does the moon affect what we can see?
Yes. The moon’s cycle is mentioned as something to consider when booking, since it can affect viewing conditions.
Who might not be able to join this tour?
The tour is not suitable for people with heart problems or respiratory issues. It is also not suitable if you dove up to 24 hours prior.